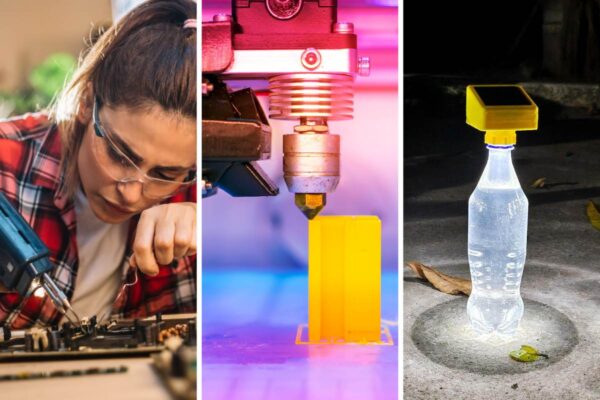


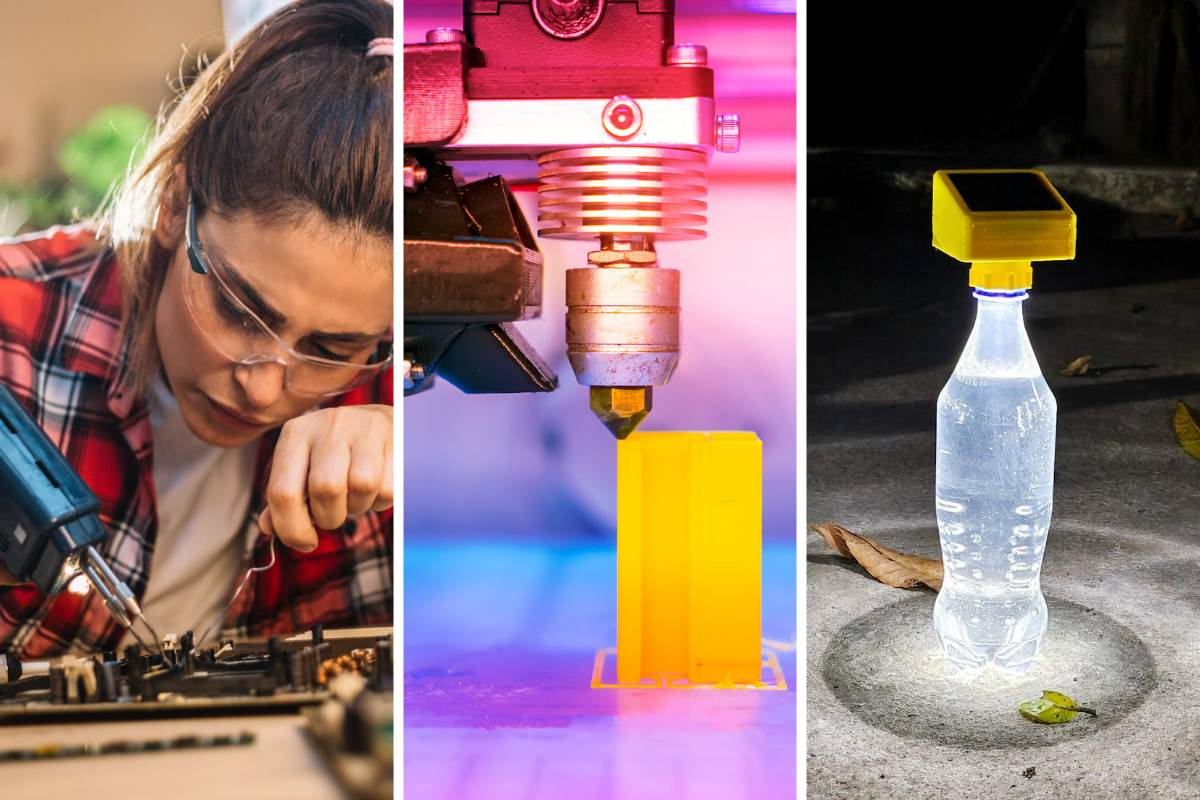
DIY Solar Bottle Light in 10 Steps
Sounds unique, right? The solar bottle light is an interesting invention that’s incredibly eco-friendly because it’s a solar-powered light produced with waste plastic bottles. You can use virtually all soft drink bottles for this. You just have to take out the plastic cap and attach a 3D-printed solar lamp instead.
Since you have to reuse waste plastic bottles to make a solar bottle bulb, making this DIY lamp helps with the re-usage of waste plastic bottles which in turn contributes to the reduction of greenhouse gas emissions and local air pollution. Solar technology has really come a long way, and people are getting increasingly creative with it. No one saw a solar bottle lamp coming, but here it is.
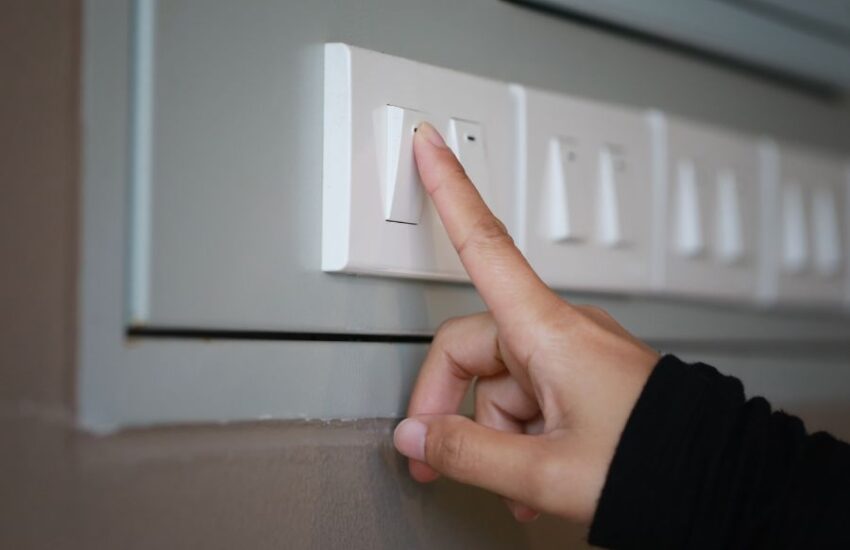
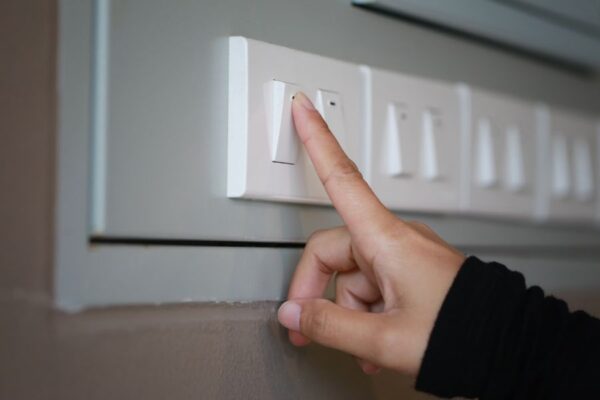
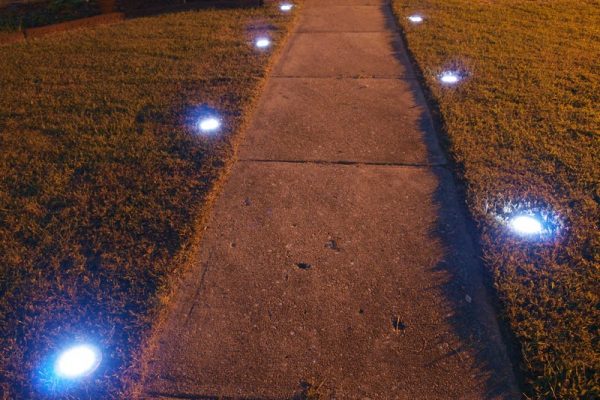
The solar bottle lamp has versatile applications – and just like regular solar disk lights, it can be used for lighting up pathways inside the home when there’s a power outage, at a campsite, and so on. It’s an invention that can come in very handy when you’re going on camping trips in remote villages.
Making this solar bottle lamp costs very little because it just involves recycled plastic bottles and a solar bottle cap. The concept behind this simple technology is that clear plastic beverage bottles filled with liquids such as bleach, or water can refract sunlight when placed on the roof of a building. The Moser technology inspired the solar bottle lamp. The Moser bottle was initially used to provide lighting, but it was only useful in the daytime.
To make solar bottle bulbs, you’ll need the following supplies:
Materials Needed to Make a Solar Bottle Lamp
- Straw Hat LED light (0.5 watts)
- Metal Oxide Silicon Field Effect Transistors
- Solar Bottle Lamp circuit board
- Capacitors (10uF, 1uF, and 100nF)
- Charger integrated circuit
- Battery protection IC
- A 60 by 60 mm Solar Panel (5.5V capacity)
- Schottky Diode
- Battery spring plate terminals
- JST Connectors
- 24 AWG Wires
- 14500 Li-Ion Battery
- 1/4W Resistor
- 1/8W Resistors
- Self-tapping screws, M3 size: 8mm (2) and 20mm
- Flashlight button switch
- Small signal surface mounted NPN transistor
- Straight header pins
- Heat-shrink tubing
- Nippers
- Solder
- Soldering iron
- Few drops of chlorine bleach
These supplies can be sourced locally from the nearest hardware store in your neighborhood.
The Tools Needed to Make the Solar Bottle Bulb
- Wire stripper
- 3D printer
- Mini Hot plate
- Hot glue gun
- Heat insulation magnetic silicone mat
These are also items you can get from stores nearby or order them online from stores like Amazon, AliExpress, etc.
Now, let’s show you how to make these solar lamps and, later on, show you how all the components function to make them work.
The Steps
#1: Assembling the Printed Circuit Board
- Begin by soldering the smallest components of the PCB
- Solder the resistors, followed by the diode and then the transistors
- Next, solder the female JST connectors, followed by the flashlight button switch
- Solder the constant-voltage linear charger for single-cell Li-ion batteries
- Finally, use the nipper to cut off the remnant legs from the components
#2: 3D Print the Solar Cap
The solar cap has an enclosure that embodies several components, including the solar panel which comes on top of it, the LED bulb holder (for holding the light bulb), the diffuser (to disperse the light output throughout the plastic bottle), and the switch button cap (to apply pressure on the push-button switch on the printed circuit board from outside the bottle.
- Download the stereolithography files to 3D-print the solar cap and print its parts in PETG, ABS, and PLA filaments.
- Get a support structure for printing the top cover and the main body.
- Remove the framework from the threaded area of the cap with a screwdriver.
- Twist the cap, then reverse the motion on the plastic water bottle to smooth out the threads.
#3: Solar Panel Mounting
- Place the terminal cables of the solar panel into the slot of the top cover of the solar cap.
- Solder these wires to the male JST connector leads.
- Alternatively, you can solder them to the PCB pads (negative terminal wires to SOL + and positive terminal wires to SOL -) (in phase 8).
- Apply epoxy glue on the top cover and attach the solar panel to it.
- Then apply a few drops of epoxy glue to seal the solar panel from inside the bottle. This is to prevent water from the solar bottle lap from having access to the enclosure.
#4: Battery Terminals Installation
- Solder the male JST connector leads to the battery terminals (red for the positive terminal and black for the negative one). Another way to identify the negative terminal is to look for the one with a spring contact.
- If you don’t have JST connectors, you can solder the terminal cables to the BAT+ and BAT- pads of the printed circuit board (in phase 8).
- Next, insert the terminal plates into the battery slots.
#5: LED Lighting Installation
- Solder the JST connector wires to the terminals of the led – the appropriate color to the negative or positive terminal.
- Place the bulb into the LED holder.
- Then install them in the main enclosure. Ensure you use the notch to align it for proper installation.
- Use the hot glue gun to apply adhesive on all sides of the LED to seal it. Alternatively, you can use epoxy glue.
- Next, install the bottle lamp diffuser and seal it with glue as well.
#6: Button Cap Installation
- Install the button cap insert into the main body of the enclosure.
- Make sure the notches are properly aligned while at it.
#7: PCB Installation
- Get the PCB mounting holes in alignment with the mounting studs in the top cover.
- Secure the installation with a pair of 8mm screws.
#8: Connecting the PCB to External Components
- Connect the battery, LED, and solar panels to their respective terminals on the printed circuit board.
- Connect them via JST connectors or by directly soldering them to the soldering pads on the PCB. Ensure the polarity is accurate if you’re going for the latter. This shouldn’t be an issue because the polarity is marked on the PCB.
#9: Enclosure Assembling
- Align the mounting studs to close the top cover.
- Use a pair of 20mm screws to fasten both parts of the enclosure together.
- Then apply glue to the joints, protecting the enclosure from the weather.
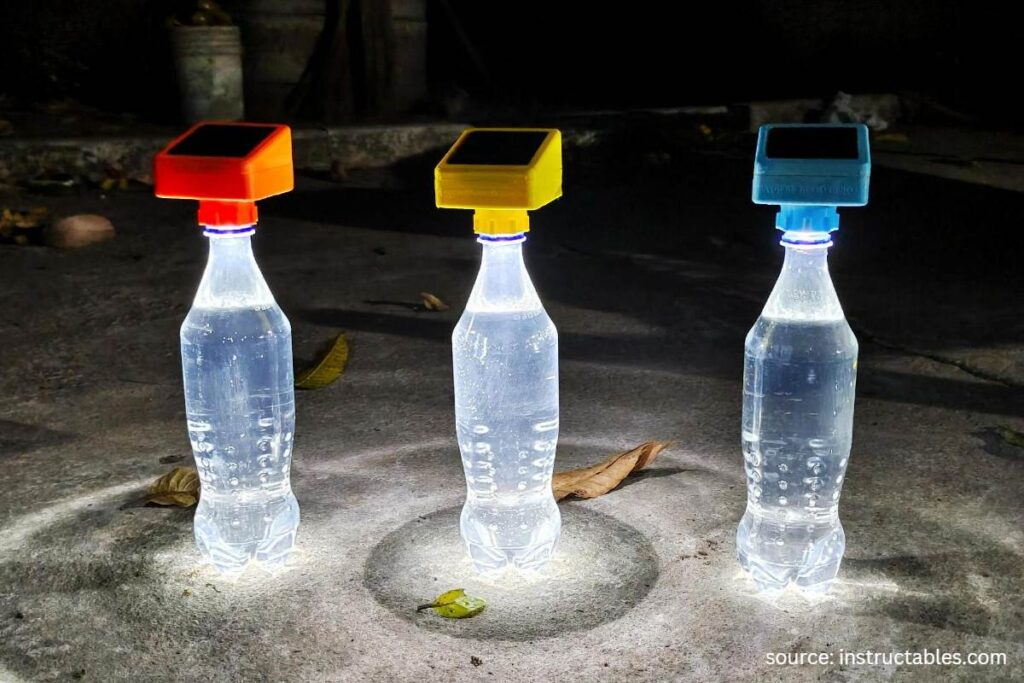
#10: Getting the Bottle Lamp Ready for Use
- Get a used plastic bottle, take out the old plastic cap, and sanitize it thoroughly.
- Fill the bottle with water and add a little amount of chlorine bleach to inhibit the growth of algae and enhance its clarity.
- Close the plastic bottle with the solar bottle lamp.
Solar Lamp and Circuit Board
Solar Lamp
This eco-friendly device has four basic components, including the panel, controller, LED, and battery. The panel receives solar energy from bright sunlight and converts it into electricity. The controller charges the battery and powers the LED; the battery stores the energy to power the lamp when the sun sets, and the LED provides illumination with the desired brightness.
Circuit Board
This circuit is made up of a LED circuit, battery protection circuit, and charger circuit. The charger circuit draws the solar current from the panels and charges the battery, and the battery protection circuit protects the battery from overcharging, which will result in its damage. The LED driver circuit is responsible for powering the LED bulb.
Why You Should DIY a Solar Bottle Light
This simple technology encourages renewable energy usage because it harvests energy from the sun’s light rays. A solar bottle light reduces local air pollution and carbon emissions into the air from the use of fossil fuels and environmental waste because it involves reusing plastic bottles that would have been disposed of.
A bottle light enhances clean energy access because of the affordable price of its construction, making it available to a wide range of people in rural areas that are not powered by the grid.
It can be an alternative business model with the capacity to revamp the overall rural economy through technology-based livelihood opportunities.